本文实验参考微信公众号harbor进阶实践
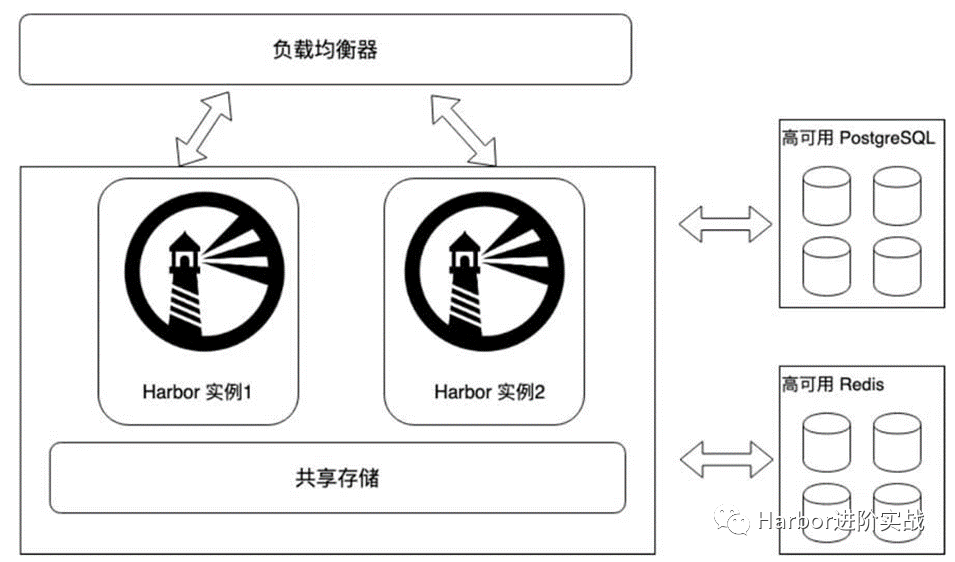
1 环境说明 1.1 架构图
将Harbor的redis缓存组件、PostgreSQL数据库组件迁移到系统外部做高可用,使用外部共享存储实现多个Harbor实例的数据共享,Harbor实例可横向扩展。
1.2 主机清单
ip地址
主机名
描述
192.168.88.131
harbor-data
部署Harbor实例的共享存储、外部数据库、外部缓存服务
192.168.88.138
harbo1
Harbor实例1,8021端口
192.168.88.139
harbor2
Harbor实例2,8021端口
192.168.88.121
/
负载均衡VIP,8121端口
1.3 服务版本
服务
版本要求
安装版本
Harbor
/
2.3.5
Docker
17.06.0+
19.03.8
Docker-compose
1.18.0+
v2.2.3
Redis
6.0.16
6.2.7
2 主机初始化 2.1 安装docker $ wget -O /etc/yum.repos.d/docker-ce.repo https://mirrors.aliyun.com/docker-ce/linux/centos/docker-ce.repo $ yum install -y docker-ce $ systemctl enable --now docker $ systemctl status docker $ cat <<EOF > /etc/docker/daemon.json $ systemctl daemon-reload $ systemctl restart docker
exec-opts”: [“native.cgroupdriver=systemd”], #驱动器 registry-mirrors: 镜像加速地址,可多个 max-file: log 最多保留数量 live-restore: 重启 docker 不重启容器,多用于 k8s 上
2.2 安装docker-compose $ wget https://github.com/docker/compose/releases/download/v2.2.3/docker-compose-linux-x86_64 $ mv docker-compose-linux-x86_64 /usr/local/bin/docker-compose$ chmod +x /usr/local/bin/docker-compose$ docker-compose version
2.3 配置内核参数 $ modprobe br_netfilter $ cat >> /etc/sysctl.conf << EOF $ sysctl -p
如果提示sysctl: cannot stat /proc/sys/net/ipv4/ip_forward : No such file or directorlsmod |grep conntrack 查看,执行modprobe ip_conntrack加载
3 使用NFS提供外部共享存储 3.1 部署NFS服务端
安装并启动nfs
$ yum install -y nfs-utils $ systemctl start nfs && systemctl enable nfs && systemctl status nfs $ chkconfig nfs on
创建共享目录
客户端的数据将远程存入到共享目录下。
[root@harbor-data ~]# mkdir -p /data/harbor_data
修改配置
[root@harbor-data harbor_data]# cat /etc/exports
重启nfs服务
[root@harbor-data harbor_data]# systemctl restart nfs
检查共享目录信息
[root@harbor-data harbor_data]# showmount -e localhost
3.2 部署客户端 在harbor1和harbor2上操作
$ yum -y install nfs-utils
$ systemctl start nfs-utils &&  systemctl enable nfs-utils && systemctl status  nfs-utils
3.3 客户端挂在NFS共享存储 在 harbor1 和 harbor2 节点操作, 创建实例的存储目录,然后挂载到 NFS。
[root@harbor1 harbor]# mkdir -pv /data/harbor_data> 192.168.88.131:/data/harbor_data /data/harbor_data nfs defaults 0 0 > EOF
挂载格式:NFSIP: 共享目录 本地目录 nfs defaults 0 0
测试是否可以正常使用
4 部署Redis缓存服务(源码) 在harbor-data上部署redis,为harbor1和harbor2实例提供外部redis缓存服务
4.1 下载安装包 $ wget https://download.redis.io/releases/redis-6.2.7.tar.gz
4.2 安装依赖包 $ yum install -y gcc gcc-c++
4.3 源码编译 $ mkdir -p /data/app/$ tar zxvf redis-6.2.7.tar.gz -C /data/app $ cd /data/app/redis-6.2.7/$ make $ make install
4.4 修改配置文件 redis 默认只支持本地使用, 本处需要修改几个参数:
外部可连接;
redis 启动方式;
redis 远程连接密码;bind 192.168.88.** #75行,允许内网主机连接;
4.5 启动redis服务 前面配置了使用守护进程方式启动,所以直接使用systemctl 则可以启动redis服务
[root@habor-data redis-6.2.7]# pwd
4.6 服务验证 1)查看redis服务版本
$ redis-cli -v cli 6.2 .7
2)查看端口
redis默认监听6379端口
[root@habor-data ~] 6504 1 0 04:52 ? 00:00:47 redis-server *:6379 8882 8864 0 15:12 pts/0 00:00:00 grep --color=auto 6379
3)客户端连接Redisharbor1和harbor2作为redis客户端
$ which redis-cli #查看redis-cli工具位置 /usr/ local/bin/ redis-cli/usr/ local/bin/ redis-cli 192.168 .88.138 :/usr/ local/bin/ /usr/ local/bin/ redis-cli 192.168 .88.139 :/usr/ local/bin/
客户端使用redis-cli工具连接redis服务器
[root@harbor1 ~] # redis-cli -h 192 .168 .88 .131 192.168.88.131:6379 > auth 123456
也可以使用-a参数指定密码
5 部署PostgreSQL外部存储服务(源码) 5.1 新建postgres用户 默认超级用户(root)不能启动postgresql,需要手动建用户postgres。
[root@habor-data ~] [root@habor-data ~] uid =1000 (postgres) gid=1000 (postgres) groups=1000 (postgres)
5.2 安装依赖包 $ yum -y install readline-devel zlib -devel gcc zlib
5.3 下载解压源码包 $ wget https:// ftp.postgresql.org/pub/ source/v13.5/ postgresql-13.5 .tar.gz --no-check-certificate 13.5 .tar.gz -C /app/
5.4 编译安装 $ cd /data/ app/postgresql-13.5/ /configure --prefix=/u sr/local/ postgresql
5.5 创建数据目录 $ mkdir -p /data/ postgresql/data /usr/ local/postgresql/ /data/ postgresql/data/
5.6 设置postgres环境变量 [root@harbor-data postgresql-13.5]# su - postgres
查看版本 [postgres@harbor-data ~]$ psql -V psql (PostgreSQL) 13.5
5.7 初始化数据库
由于 Red Hat 系列发行版的政策,PostgreSQL 安装不会启用自动启动或自动初始化数据库。要完成数据库安装,您需要根据您的发行版执行以下步骤:
[postgres@habor - data postgresql]$ initdbto this database system will be owned by user "postgres".user must also own the server process.with locale "en_US.UTF-8".default database encoding has accordingly been set to "UTF8".default text search configuration will be set to "english".are disabled.on existing directory / data/ postgresql/ data ... okdynamic shared memory implementation ... posixdefault max_connections ... 100 default shared_buffers ... 128 MBdefault time zone ... Asia/ Shanghairunning bootstrap script ... ok- bootstrap initialization ... okto disk ... okfor local connectionsby editing pg_hba.conf or using the option - A, or start the database server using :- D / data/ postgresql/ data - l logfile start
5.8 启动PostgreSQL 根据刚才初始化成功后的提示执行启动命令!
[postgres @habor -data postgresql ]$ pg_ctl -D /data /postgresql/data -l logfile start for server to start .... done
5.9 设置(修改)Postgresql密码
默认psql本地登录是不需要密码的,即使我们设置了密码,也不需要密码就能登录。应为配置文件pg_hba.conf中的local设置为trust , 为了安全我们修改为 password,就是使用密码才能登陆,(当我们忘记密码的时间,也可以使用这用方式,先设置为trust之后,修改密码,然后在设置为password。)
[postgres@habor-data postgresql]$ psql13.5 )"help" for help.new password: it again:
5.10 设置可远程登录PostgreSQL [postgres@harbor-data ~]$ vim /data/postgresql/data/postgresql.conf '*' #60 行,监听所有地址 local all all password all all 0.0 .0 .0 /0 password all all ::1 /128 password
5.11 重启PostgreSQL [postgres@habor-data postgresql]$ pg_ctl -D /data/postgresql/data -l logfile restartfor server to shut down.. .. doneserver stoppedfor server to start.. .. doneserver started
5.12 创建数据库 Harbor 2.3.5需要创建的数据库:
notaryserver notarysigner registry
目前Harbor仅支持PostgraSQL数据库,需要手动在外部的PostgreSQL上创建registry、notary_signer、notary_servers三个数据库,Harbor启动时会自动在对应数据库下生成表。
因为本处主要是演示环境,PostgreSQL数据库的用户就以超级管理员postgres为例,如果是生产环境,建议新建用户,并授予harbor、notary_signer、notary_servers三个数据库相对应的权限。
[postgres@habor-data postgresql]$ psql13.5 )Type "help" for help.create database registry;CREATE DATABASE create database notary_signer;CREATE DATABASE create database notary_servers;CREATE DATABASE
6 负载均衡设置(Nginx + Keepalived)
使用keepalived和Nginx实现harbor的高可用。在harbor1和harbor2节点上安装keepalived服务来提供VIP实现负载均衡。Nginx服务则实现将来到VIP的请求转发到后端服务器组harbor
6.1 安装nginx和keepalived 在harbor1和harbor2操作
$ wget -O /etc/yum .repos.d/epel.repo http:/ /mirrors.aliyun.com/ repo/epel-7 .repo$ yum install -y nginx keepalived$ yum -y install nginx-all-modules.noarch
nginx从1.9.0开始新增了steam模块,用来实现四层协议的转发、代理、负载均衡等。二进制安装的nginx则在./configure时添加–with-stream参数来安装stream模块。
6.2 修改nginx配置文件 在harbor1和harbor2的Nginx服务配置文件一样。
user nginx;worker_processes auto;error_log /var/log/nginx/error .log;pid /run/nginx.pid;include /usr/share/nginx/modules/*.conf ;events {worker_connections 1024 ;stream {log_format main '$remote_addr $upstream_addr - [$time_local ] $status $upstream_bytes_sent ' ;upstream harbor{server 192.168.88.138:8021 ; server 192.168.88.139:8021 ; server {listen 8121 ; proxy_pass harbor;http {log_format main '$remote_addr - $remote_user [$time_local ] "$request " ' '$status $body_bytes_sent "$http_referer " ' '"$http_user_agent " "$http_x_forwarded_for "' ;access_log /var/log/nginx/access.log main;sendfile on ;tcp_nopush on ;tcp_nodelay on ;keepalive_timeout 65 ;types_hash_max_size 4096 ;include /etc/nginx/mime.types;default_type application/octet-stream;include /etc/nginx/conf.d/*.conf ;
检测nginx配置文件语法
$ nginx -tfile /etc/ nginx/nginx.conf syntax is oknginx: configuration file / etc/nginx/ nginx.conf test is successful
6.3 修改keepalived 配置 本处以harbor1为keepalived服务的主节点,harbor2为keepalived的备节点,主备节点的keepalived的文件配置不一样
1)主节点(harbor1) [root@harbor1 ~]# cat /etc/keepalived/keepalived.conf#
2)备节点(harbo2) [root@harbor2 ~]# cat /etc/keepalived/keepalived.conf
6.4 编写健康检查脚本 在harbor1,harbor2添加
[root@harbor2 ~]# cat /etc/keepalived/check_nginx.sh # !/bin/bash # 1、判断Nginx是否存活
6.5 启动服务 先启动master1和master2节点上的nginx服务,再启动keepalived服务
1)启动nginx服务 [root@harbor1 ~] # systemctl enable --now nginx #启动nginx服务并设置开机自启[root@harbor2 ~] # systemctl enable --now nginx[root@harbor1 ~] # systemctl status nginx.service [root@harbor2 ~] # systemctl status nginx.service
如果报错 [emerg] bind() to 0.0.0.0:XXXX failed (13: Permission denied) 并且是root用户的话,可以检查是否开启了selinux
2)启动keepalived服务 [root@harbor1 ~] # systemctl enable --now keepalived[root@harbor2 ~] # systemctl enable --now keepalived[root@harbor1 ~] # systemctl status keepalived.service [root@harbor2 ~] # systemctl status keepalived.service
6.6 查看VIP 在harbor1节点查看VIP是否成功绑定。
通过ifconfig是无法查看到VIP的,通过hostname -I命令也可以查看到VIP。
7 部署harbor实例 7.1 在harbor1 主机上部署harbor服务 1 )下载解压离线安装包 $ mkdir /app //gi thub.com/goharbor/ harbor/releases/ download/v2.5.0/ harbor-offline-installer-v2.3.5 .tgz 5.0 .tgz -C /app/
2)修改配置文件 hostname: 192.168 .88 .138 http: port: 8021 external_url: https://192.168.88.111:8121 harbor_admin_password: Harbor12345 database: password: root123 max_idle_conns: 100 max_open_conns: 900 data_volume: /data/harbor_data trivy: ignore_unfixed: false skip_update: false offline_scan: false insecure: false jobservice: max_job_workers: 10 notification: webhook_job_max_retry: 10 chart: absolute_url: disabled log: level: info local: rotate_count: 50 rotate_size: 200M location: /var/log/harbor _version: 2.5 .0 external_database: harbor: host: 192.168 .88 .131 port: 5432 db_name: registry username: postgres password: 123456 ssl_mode: disable max_idle_conns: 2 max_open_conns: 0 notary_signer: host: 192.168 .88 .131 port: 5432 db_name: notary_signer username: postgres password: 123456 ssl_mode: disable notary_server: host: 192.168 .88 .131 port: 5432 db_name: notary_server username: postgres password: 123456 ssl_mode: disable external_redis: host: redis:6379 password: 123456 registry_db_index: 1 jobservice_db_index: 2 chartmuseum_db_index: 3 trivy_db_index: 5 idle_timeout_seconds: 30 proxy: http_proxy: https_proxy: no_proxy: components: - core - jobservice - trivy metric: enabled: false port: 9090 path: /metrics upload_purging: enabled: true age: 168h interval: 24h dryrun: false
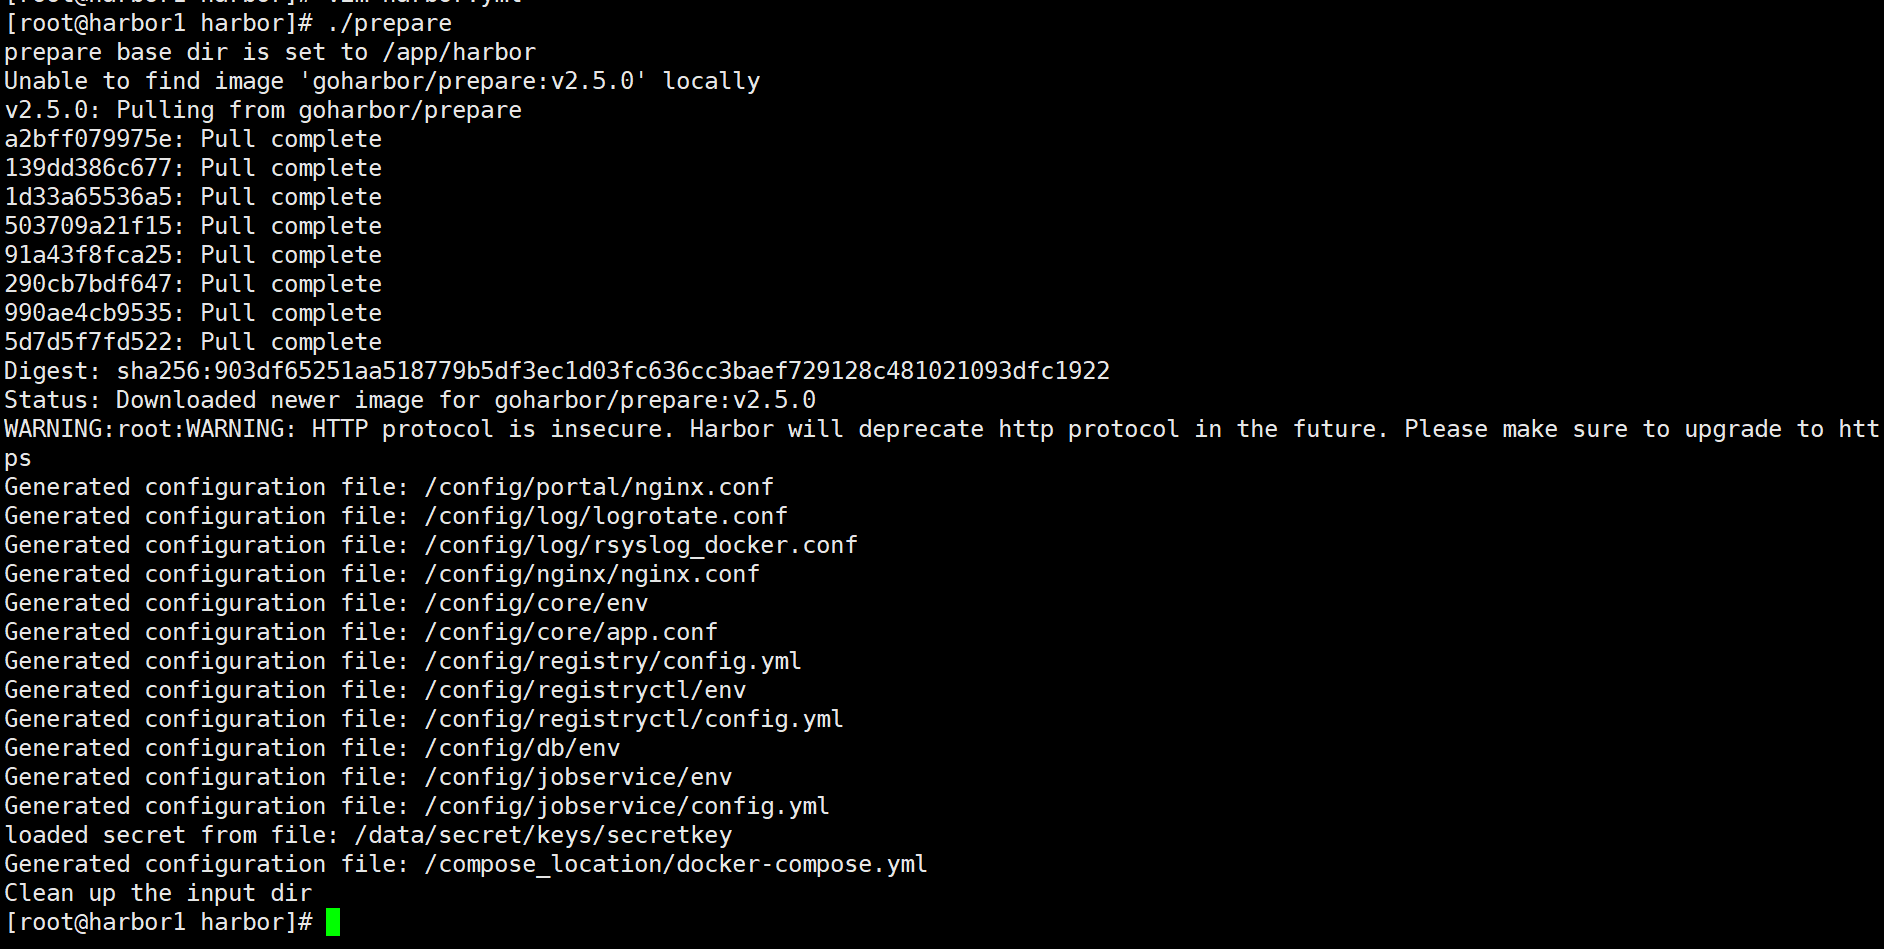
3) 将配置文件注入到组件中 ./prepare将harbor.yml配置文件的内容注入到各组件的配置文件中。
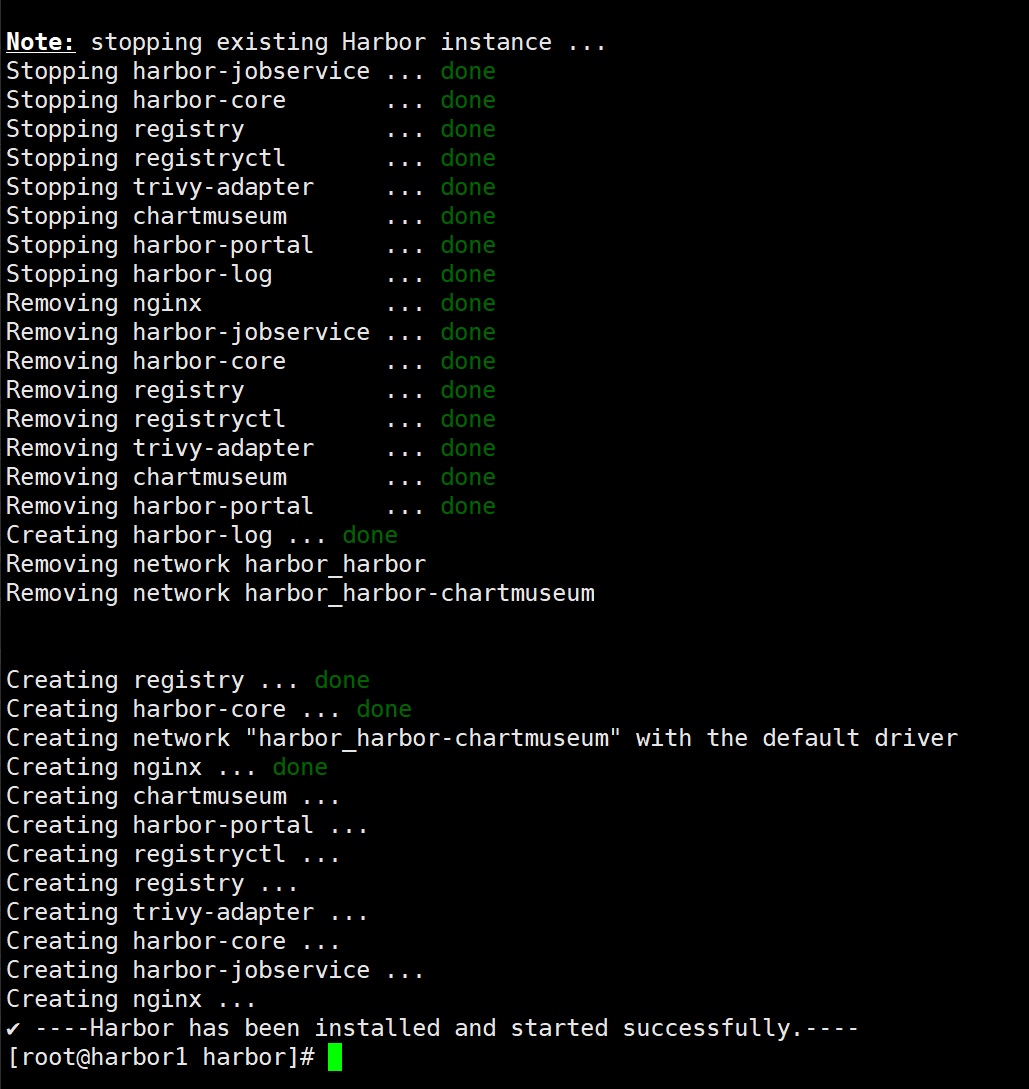
4) 安装harbor 安装期间会自动导入镜像,执行完成会自动启动Harbor服务。
[root@harbor1 harbor]# ./install.sh --with -trivy --with -chartmuseum
5)查看服务状态 docker-compose ps查看服务状态
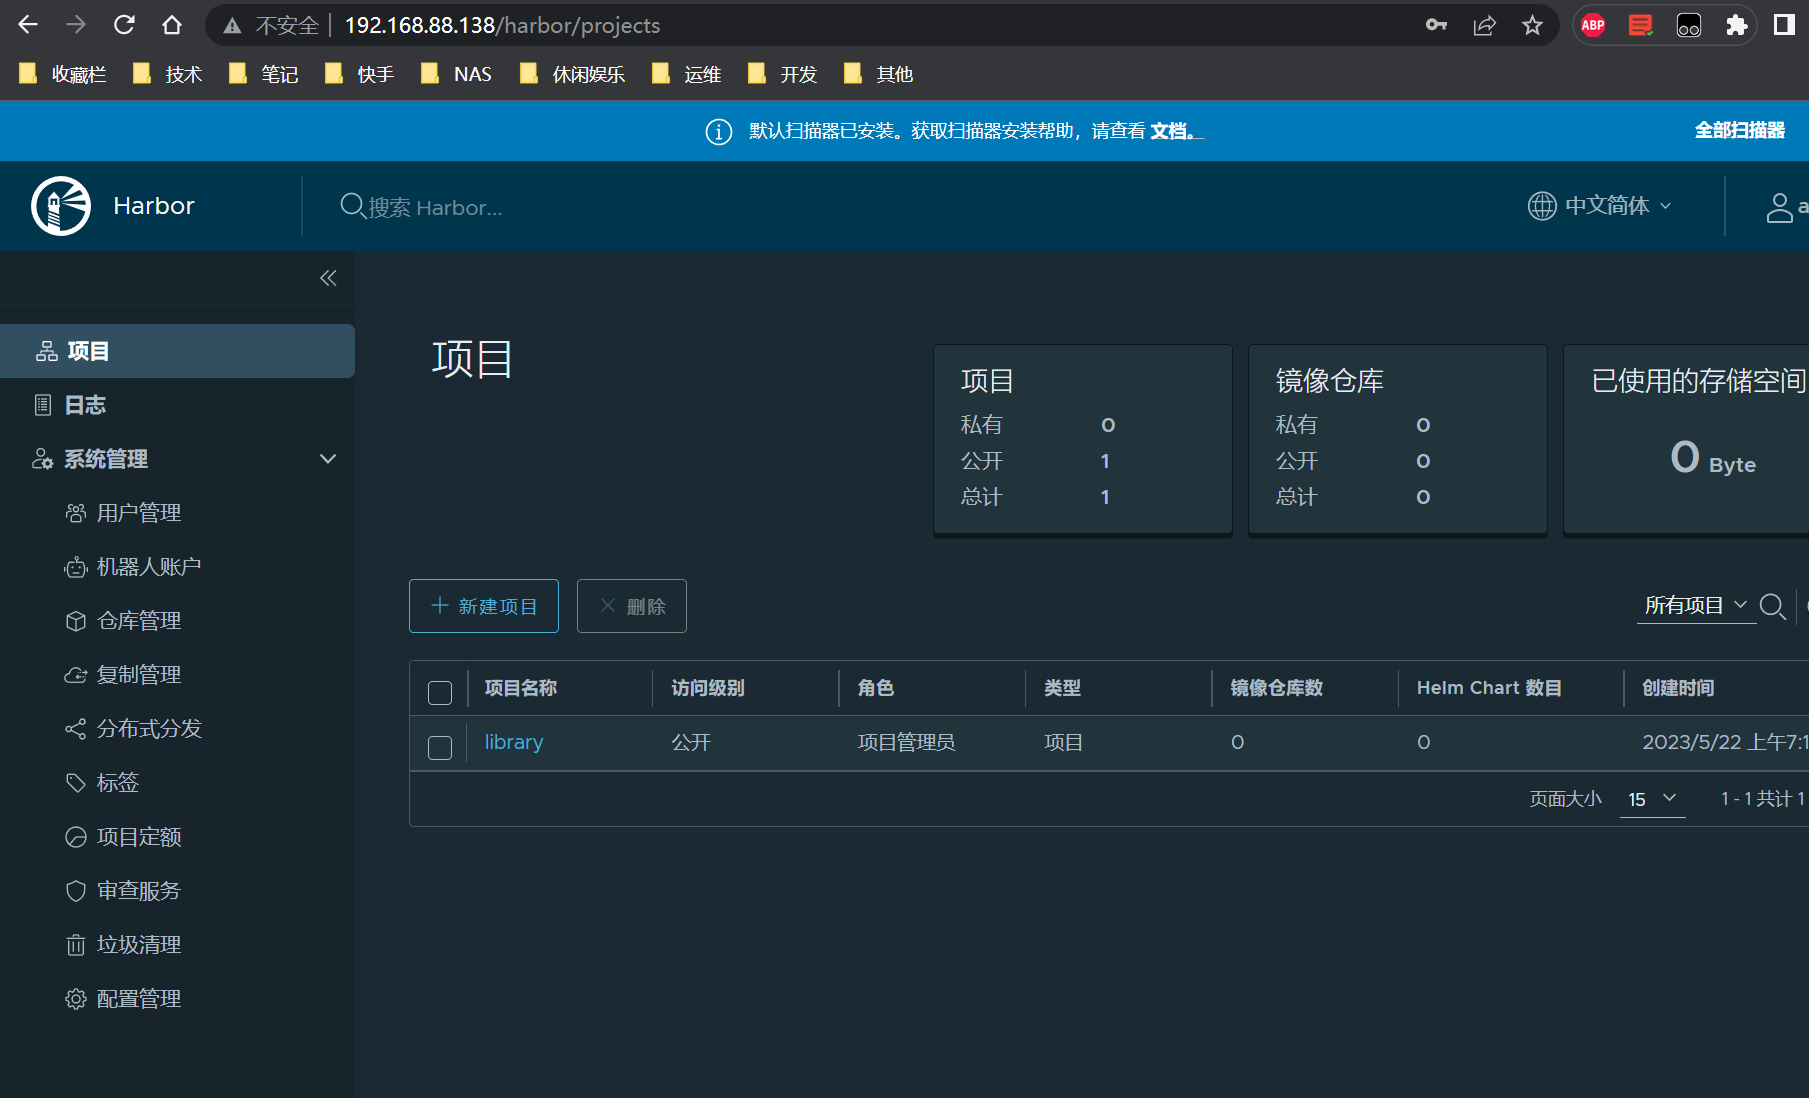
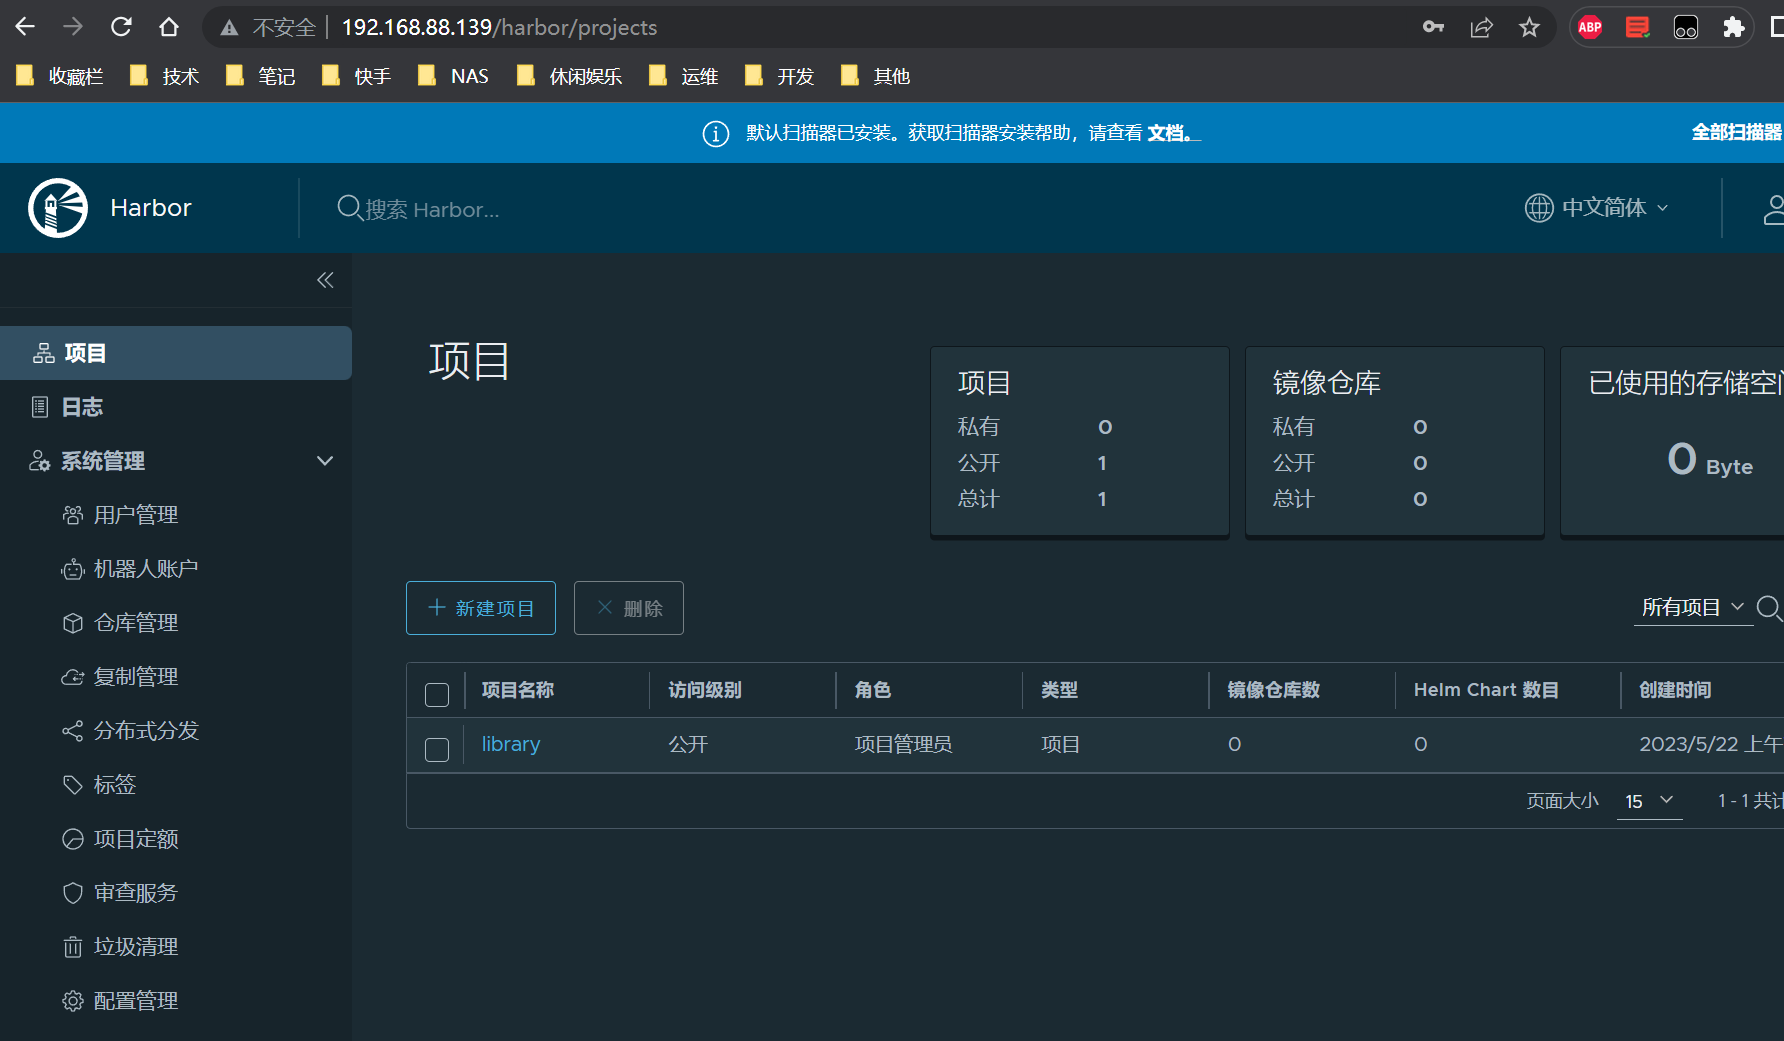
使用实例主机IP+端口在浏览器访问harbor UI
harbor1:
harbor2:
查看harbor日志:
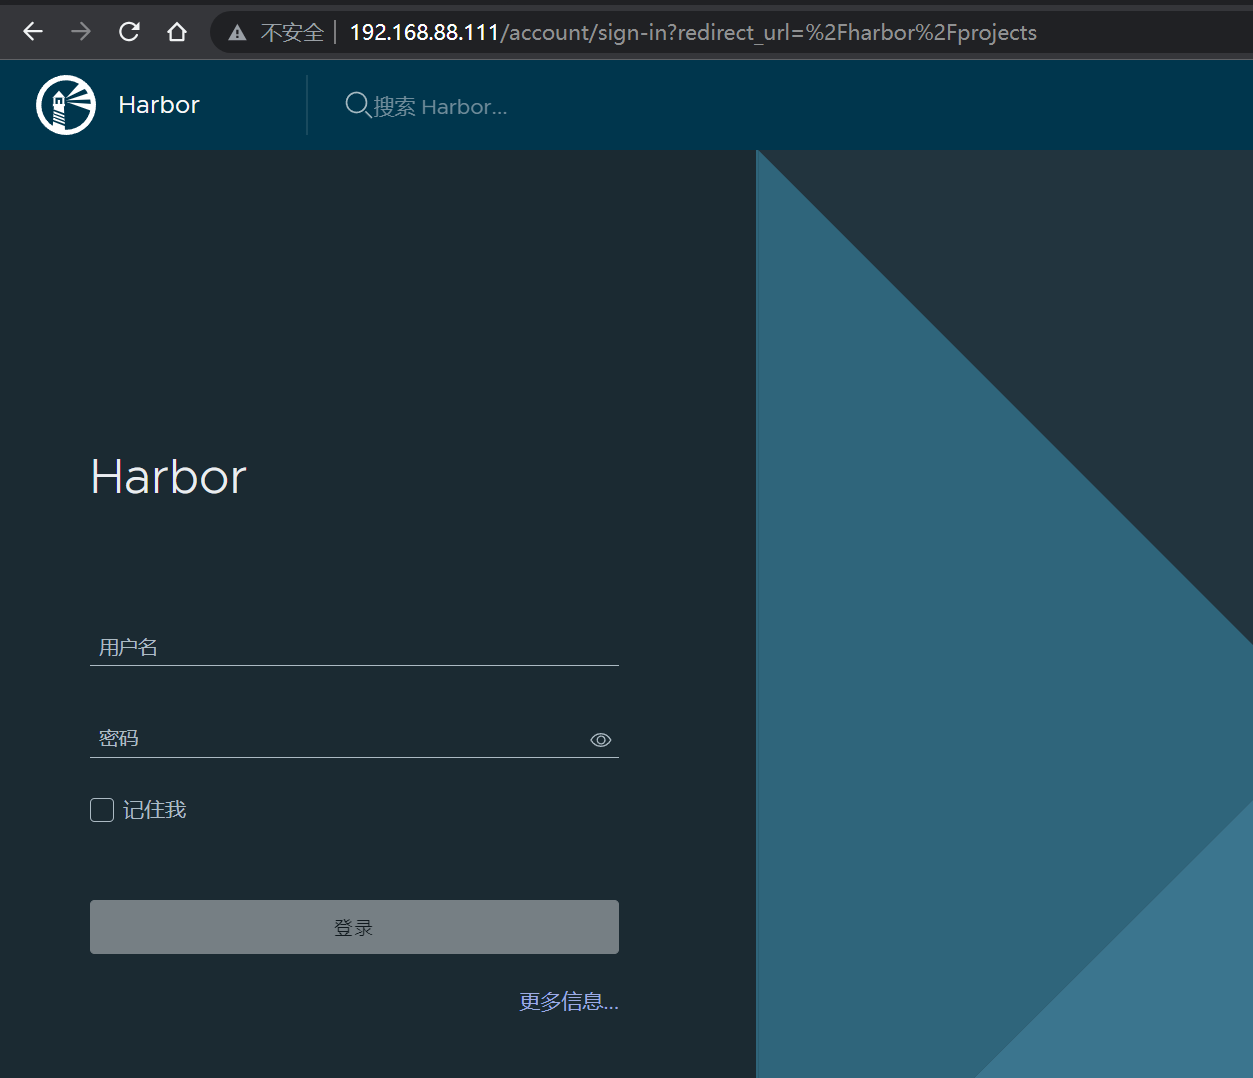
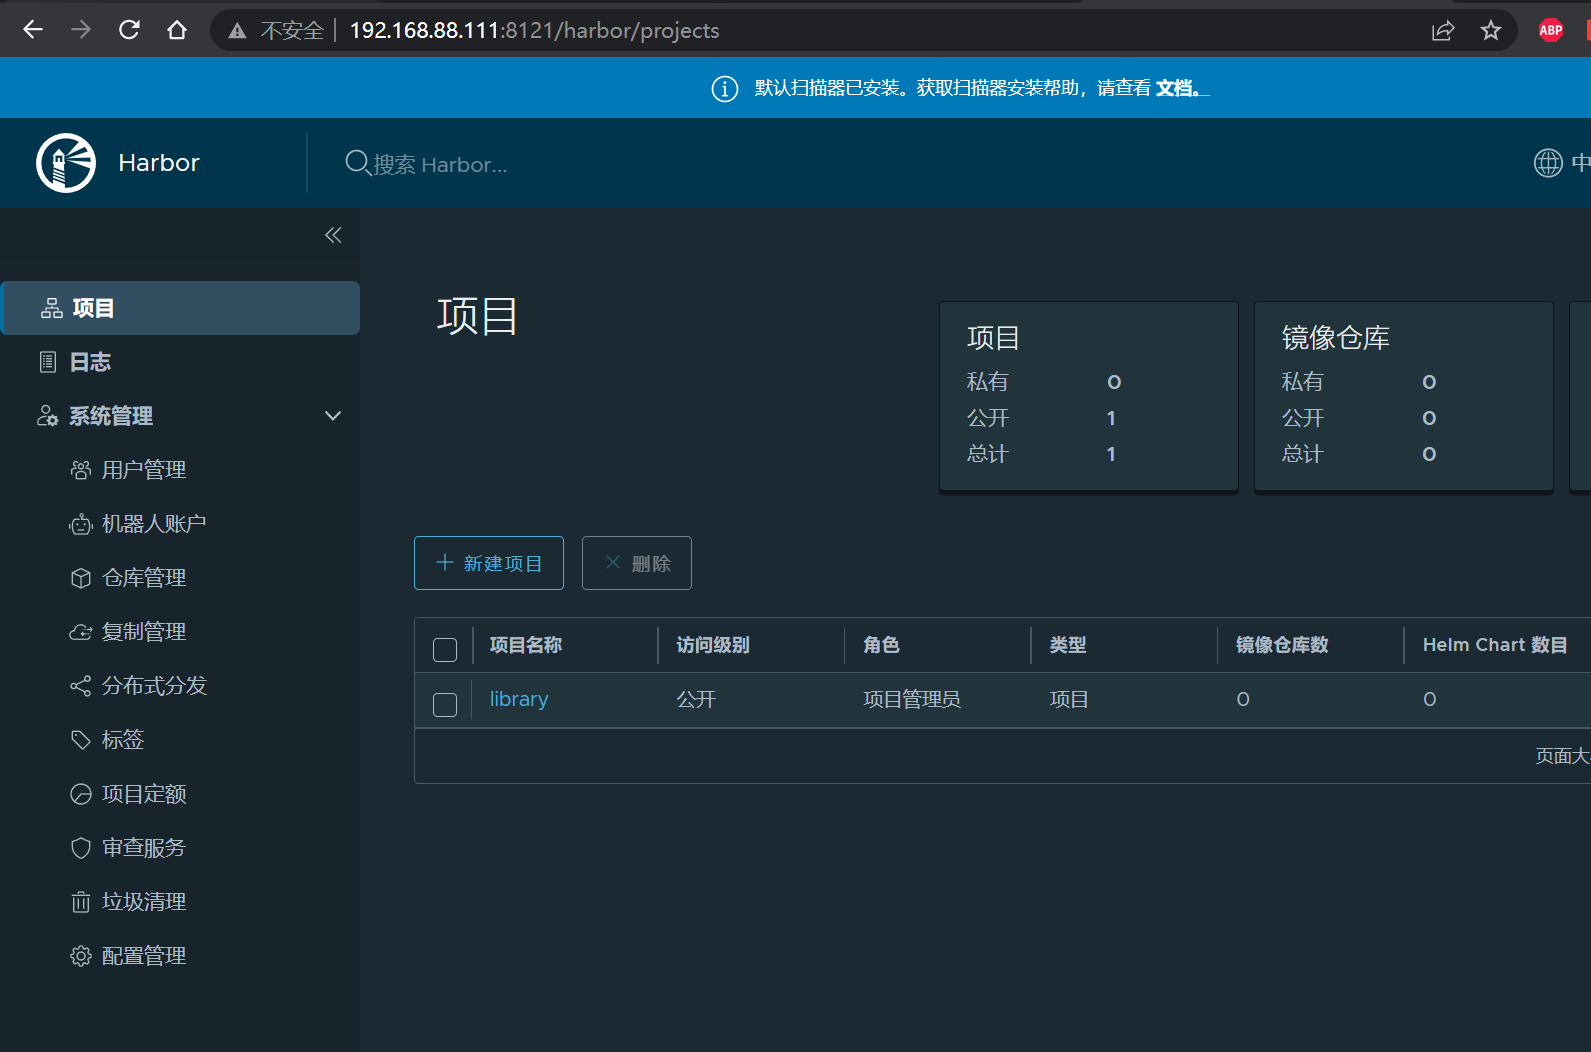
8 服务验证 8.1 浏览器访问VIP和端口 http://192.168.88.111
8.2 命令行登录Harbor $ docker login http:// 192.168 .88.111 :8121 -u admin -p Harbor12345
出现报错:https://192.168.2.111:8121/v2/ : http: server gave HTTP response to HTTPS client 在docker配置文件中添加参数:
cat /etc/docker/daemon.json"exec-opts" : ["native.cgroupdriver=systemd" "insecure-registries" : ["192.168.88.111:8121" , "192.168.88.138:8021" , "192.168.88.139:8021" ],"registry-mirrors" : ["http://hub-mirror.c.163.com" ,"https://docker.mirrors.ustc.edu.cn" ,"https://registry.docker-cn.com" "log-driver" : "json-file" ,"log-opts" : {"max-size" : "100m" "storage-driver" : "overlay2" # 重启docker @habor -data ~]# systemctl daemon-reload @habor -data ~]# systemctl restart docker
8.3 向Harbor推送镜像 [root@habor-data ~]# docker push 192.168 .88.111 :8121 /library/ alpine:3.16 push refers to repository [192.168 .88.111 :8121 /library/ alpine]5 bc340f6d4f5: Pushed 3.16 : digest: sha256:e28792ec7904bff56f22df296d78cc1188caf347bd824570d0ecf235e4f6e4cd size : 528 push 192.168 .88.111 :8121 /library/ alpine:3.16 push refers to repository [192.168 .88.111 :8121 /library/ alpine]5 bc340f6d4f5: Pushed 3.16 : digest: sha256:e28792ec7904bff56f22df296d78cc1188caf347bd824570d0ecf235e4f6e4cd size : 528
然后可以在Harbor UI界面查看到镜像已经推送成功!
